How To Weatherproof DIY Permanent Christmas Lights At Home

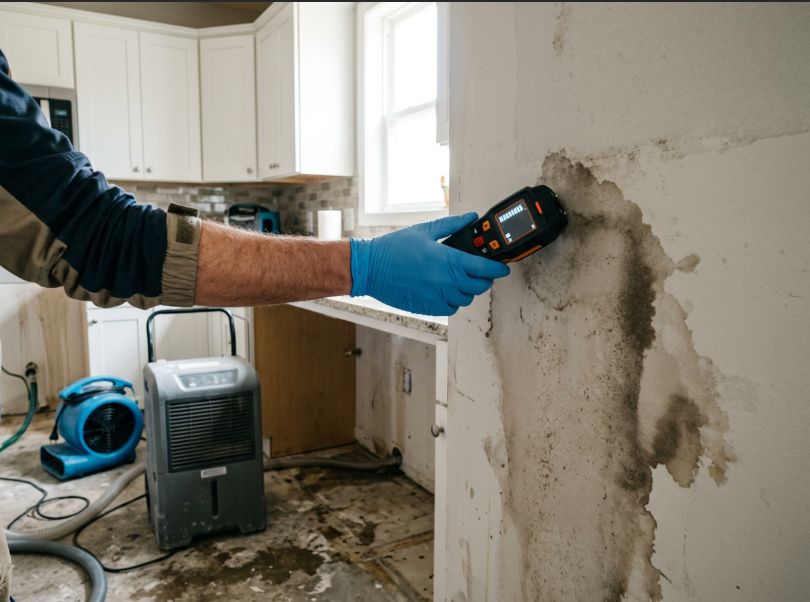
A permanent holiday lighting system stays outdoors through rain, snow, wind, heat, and freezing temperatures. ShawTech Lighting gives homeowners a starting point for building a clean roofline system, and careful weatherproofing helps protect exposed connections after installation. The goal is to keep water away from electrical contact points, give moisture a clear drainage path, and place vulnerable equipment in suitable sheltered locations.
Weatherproofing begins before the first section reaches the roofline. A complete plan should cover cable routes, connection points, enclosures, penetrations, drip loops, drainage, and future access. Each step supports a system that remains easier to inspect and service through changing seasons.
Know Which Parts Need The Most Protection
Outdoor-rated components are built for exterior conditions, and every system contains areas that deserve close attention. Connectors, wire splices, controller boxes, power supplies, cable entry points, and roofline penetrations can collect moisture when they are poorly positioned or loosely sealed.
Common Moisture Entry Points
- Plug and socket connections
- Cut wire ends
- Splice locations
- Controller cable openings
- Power supply vents
- Holes through soffits or walls
- Low points where water can collect
Review the route from the power source to the final track section. Mark every place where wires join, change direction, pass through a surface, or enter an enclosure.
Use Exterior-Rated Connections And Enclosures
Connections should use components designed for outdoor electrical service. The connector needs a firm mechanical fit and a seal that remains stable through seasonal temperature changes.
Adhesive-lined heat-shrink tubing can protect certain wire splices when it is correctly sized and fully sealed. Weather-resistant connectors may use gaskets or locking collars. Follow the component instructions and keep mismatched pieces out of the installation.
| Component Area | Weatherproofing Goal | Installation Check |
| Wire Splice | Keep Moisture Off Conductors | Seal Is Continuous |
| Plug Connection | Maintain A Tight Gasket | Collar Is Fully Seated |
| Controller Box | Limit Water Entry | Cable Openings Face Down |
| Power Supply | Provide Approved Shelter | Airflow Remains Clear |
| Wall Penetration | Block Water Migration | Exterior Seal Is Complete |
An enclosure should match the conditions around it. A covered porch, garage, utility area, or another approved sheltered space can protect equipment that requires protection from direct exposure.
Place Openings And Connectors Facing Down
Water often travels along wires before reaching a connection. Position connectors so openings and seams face downward when the system design allows it.
A downward-facing entry reduces the chance of rain settling around the seal. It also helps small amounts of condensation move away from the connection.
Keep connectors off roof surfaces, outside gutter paths, and away from valleys where runoff becomes concentrated. Secure them under the eave or within the approved track layout so they remain supported and accessible.
Add Drip Loops Before Enclosures
A drip loop is a short downward curve in the cable before it enters an enclosure or wall opening. Water moving along the cable reaches the lowest point and falls away before it can reach the opening.
Drip loops are useful near:
- Controller boxes
- Power supply areas
- Soffit penetrations
- Exterior junction points
- Cable transitions near walls
Keep the loop large enough to hold its shape without sharply bending the wire. Secure the cable so wind cannot pull the loop out of position.
Seal Exterior Penetrations Carefully
Any opening through a soffit, fascia area, siding surface, or exterior wall can become a moisture path. The cable should pass through a smooth, protected opening that does not scrape its insulation.
Use an exterior-rated sealant compatible with the surrounding material and cable jacket. Apply it after the wire is positioned and tested. The finished seal should close the gap without trapping water against the surface.
Keep indoor service points accessible. Connectors and equipment may require testing later.
Allow Track And Channels To Drain
Aluminum track organizes and protects a roofline installation, and its channels need a way to release moisture. Rain can enter through seams, wind-driven spray, or condensation.
Track sections should follow the intended mounting orientation. Joints and openings should not create pockets where water remains after a storm.
Check Track Drainage For
- Low sections that hold water
- Blocked drainage openings
- Seams facing heavy roof runoff
- End caps that trap condensation
- Debris packed around openings
- Sealant covering drainage paths
Seal vulnerable electrical contact points and keep the track’s designed water exits open.
Protect The Power Supply And Controller
The power supply and controller need a location that supports dryness, airflow, and service access. Heat can build up when equipment is packed into a tight enclosure or covered with insulation.
Mount each device according to its instructions. Keep vents clear, prevent cables from pulling on terminals, and place the enclosure above areas where water pools.
Use only power sources, cords, and protective devices approved for the system and location. Keep wiring away from standing water, sharp metal edges, moving doors, tools, and yard equipment.
Test The System Before Final Sealing
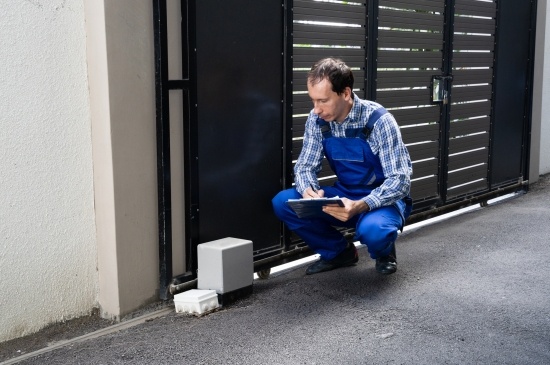
Complete an initial test after wiring and before closing every cover or finishing every seal. This makes it easier to find a reversed connection, loose terminal, damaged cable, or weak splice.
A Useful Pre-Seal Test Includes
- Confirming each section responds correctly
- Checking each connector for a firm fit
- Inspecting cable jackets for cuts
- Confirming enclosures close properly
- Reviewing controller and power connections
- Verifying track sections remain secure
After the system passes inspection, finish the approved seals and close the enclosures.
Inspect Weatherproofing Through The Year
Exterior materials move as temperatures rise and fall. Sealant can separate, clips can loosen, and debris can collect around track openings.
Inspect the system after severe storms and at the start of each season. Look from the ground first and arrange safe access for any area that needs closer attention.
Watch for cloudy connector housings, green or white corrosion marks, water inside clear covers, cracked sealant, hanging cables, loose track, or repeated interruptions during wet weather.
Turn off power before opening enclosures or handling exposed connections. Contact a qualified electrician when the inspection involves household wiring, damaged power equipment, overheated components, or uncertainty about electrical safety.
Build Weather Protection Into Every Connection
A durable exterior system depends on planning, correct component placement, sealed electrical contact points, open drainage paths, and regular inspection. Downward-facing connectors, drip loops, supported cables, and sheltered control equipment can reduce moisture problems across the roofline.
ShawTech Lighting can help homeowners begin with a system designed for permanent exterior use, and the weatherproofing plan should continue through every connection, enclosure, track section, and cable route. Careful installation creates a cleaner setup that remains easier to maintain through rain, snow, heat, and seasonal temperature changes.