DIY Decorative Clay Chimes + Vintage Patio Chairs
In involving major renovation tasks right here in Florida, I arrived up with an plan to create decorative hanging chimes with clay. I wasn’t absolutely sure if it would work, but I still gave it a go. I’m delighted to say it essentially turned out rather neat so I hung it outside above my classic patio chairs that I refurbished (tale below).
I like the repetition in the clay circles and the resemblance to wind chimes. Real truth is, these strands are not really chimes at all given that they make no seem, they’re really far more like a cell, but I affiliate a mobile with a infant nursery so I decide to call them chimes as an alternative.
I can also visualize equivalent strings of clay circles strung in a linear format like a macrame wall hanging. I regarded as that arrangement but chose to make these seem additional like wind chimes for the decorative and sculptural influence.

Frist, how to recreate the chimes then the speedy story on those people classic patio chairs. I bought all my craft provides at my local Michaels: 2 packages 2.2 lb air dry modeling clay 3 ply ivory jute twine outdoor acrylic paints in colors of selection a 9 inch wooden plaque, and craft paintbrushes. You will also want a rolling pin to flatten the clay wax paper circle formed home cups/cutters in numerous dimensions allen wrench paper bowls/cups for paint sanding wedge or foot scrubber (see picture down below) ability drill with 1/8” drill little bit to make holes in wood plaque.
Aaaaaannd… you’ll also need tolerance for this undertaking, it took several times days from get started to finish and six hrs of my time. Cutting the clay can take at minimum an hour, then you need to have to wait a comprehensive day for them to dry. The following working day you can paint them but you are going to have to have to flip them about and make it possible for both equally sides to dry thoroughly. The 3rd working day you can string it together but that also can take a couple of hrs. I gave myself four total times commence to finish, coming again to the venture for an hour or two every working day right up until it was finished.
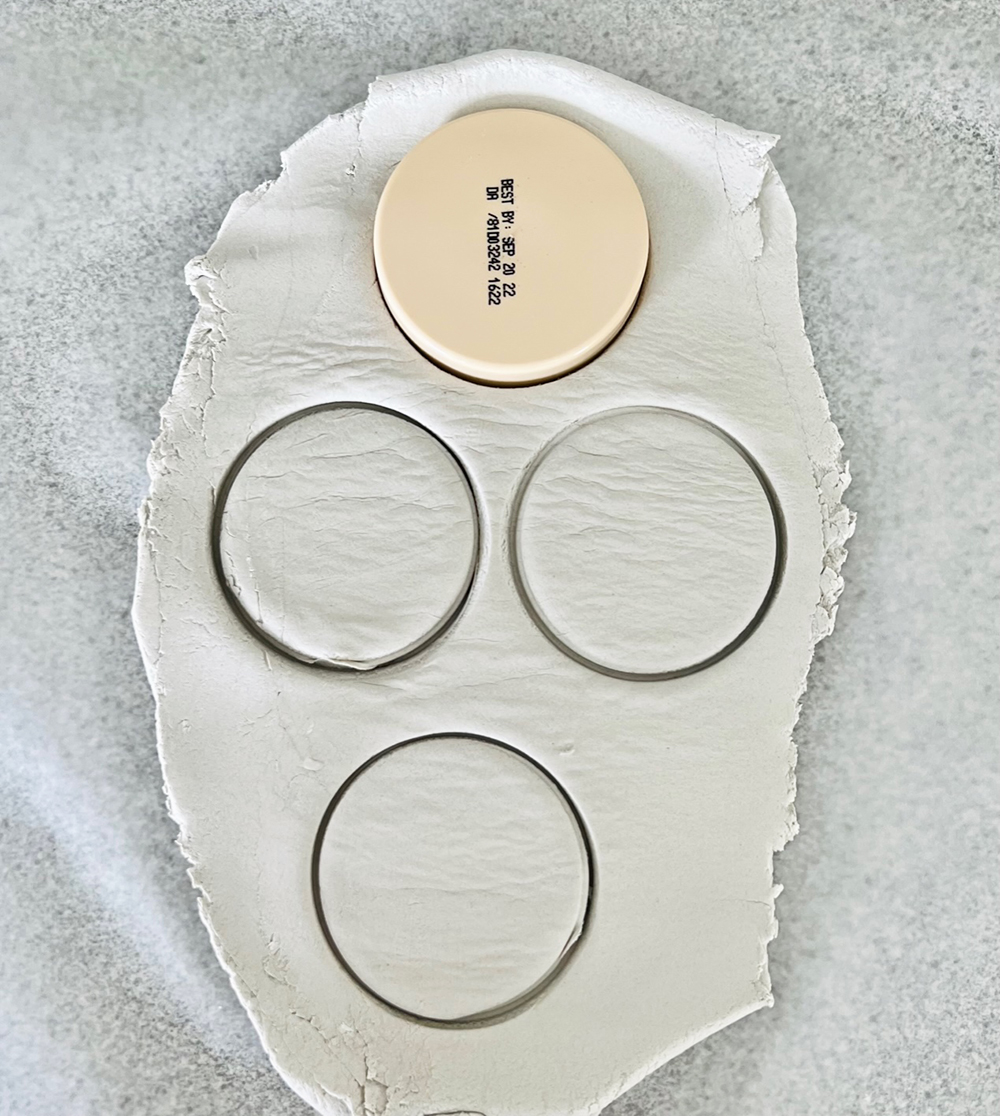
Beneath are the techniques, commence to end. I’m also introducing a video clip to Instagram also so you can visualize how it arrives alongside one another. First, roll a few ounces of clay flat, transfer to wax paper, and use chopping equipment to make circles in different dimensions. To cut the clay, I employed stemless wine eyeglasses, champagne flutes, a salad dressing cap, and the cap to my deodorant to make the base oval shape.
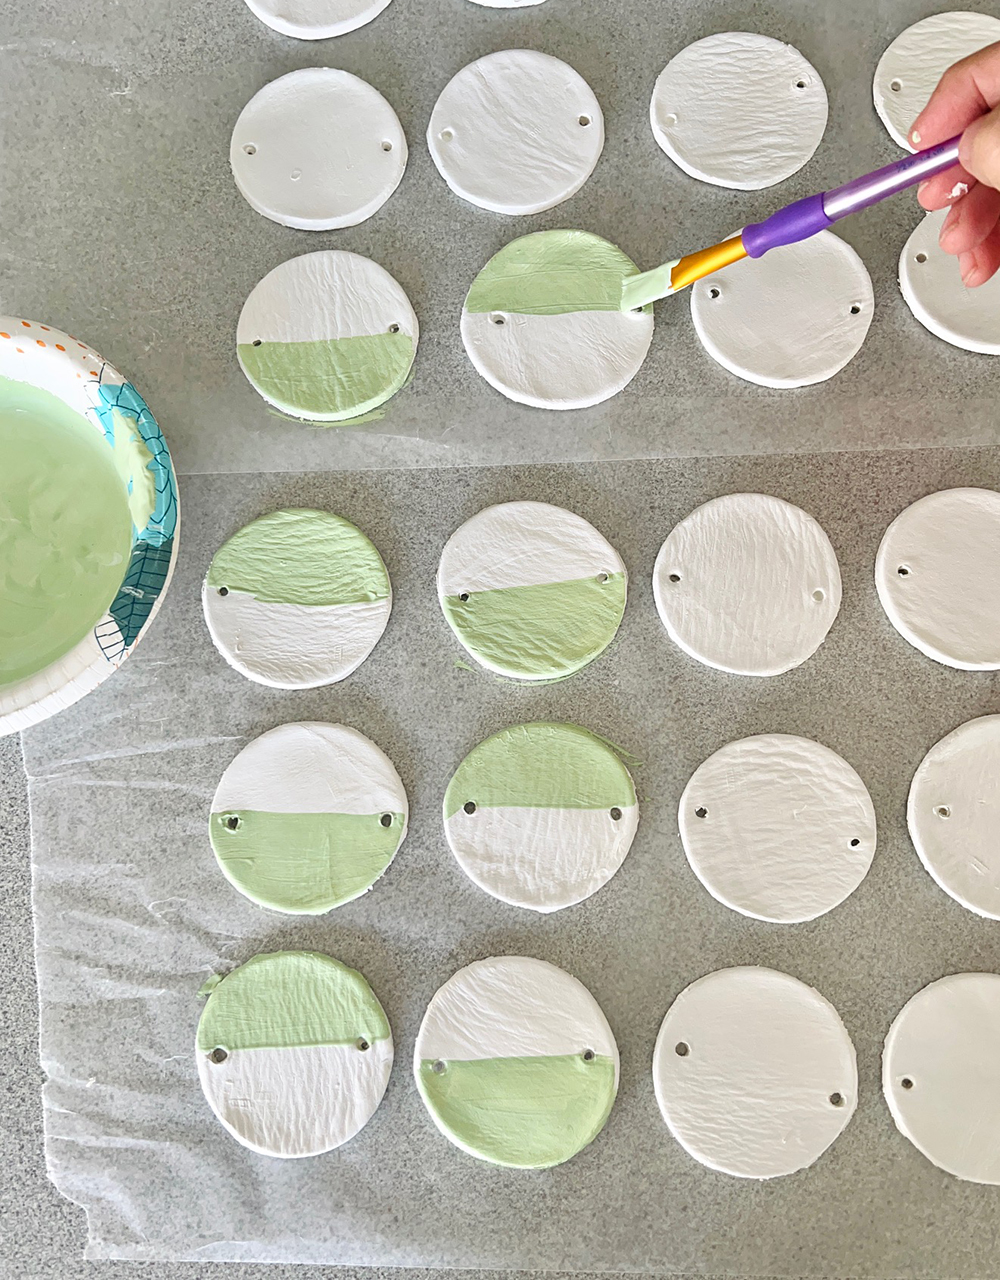
Just after the circles are lower, use an allen wrench to pierce the clay circles with smaller openings. Enable them dry on refreshing lengths of wax paper for 12 hours on every single side, 24 hrs total.
Be expecting imperfection in the success, that’s aspect of the allure. 🙂
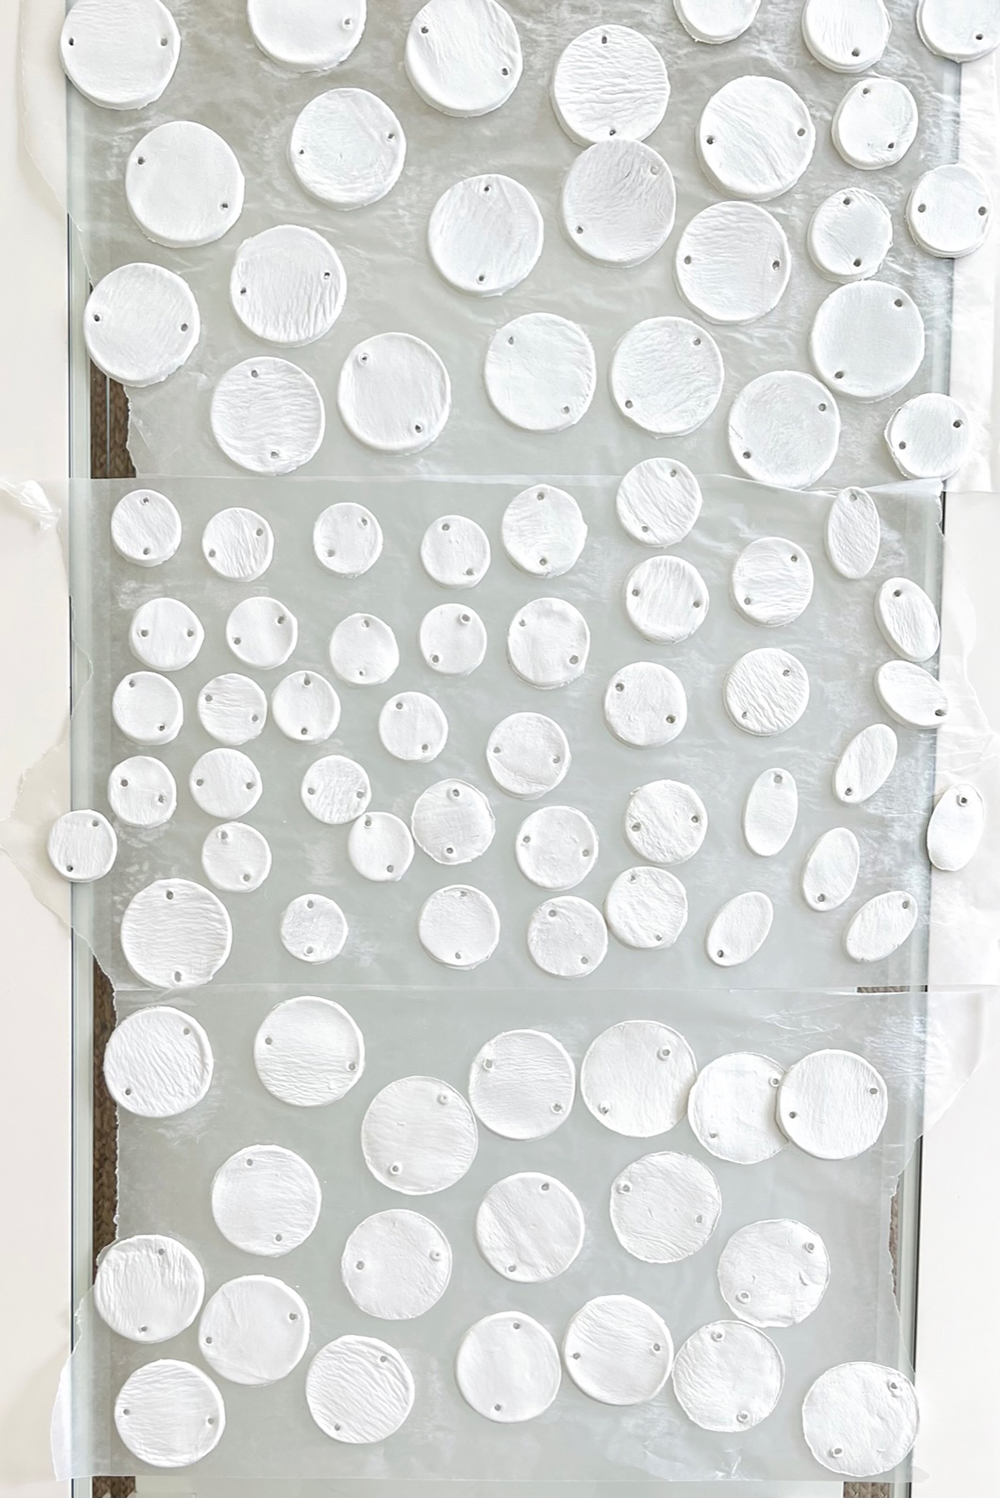
Once the clay circles are totally dry, smooth the edges. You can use possibly a medium grit sanding wedge or what I found to be far better was a pedicure foot scrubber!

As soon as they are sleek, paint them any shade you opt for. If hanging outdoors opt for outside acrylic paint, if handing indoors, common acrylic paint will be wonderful.
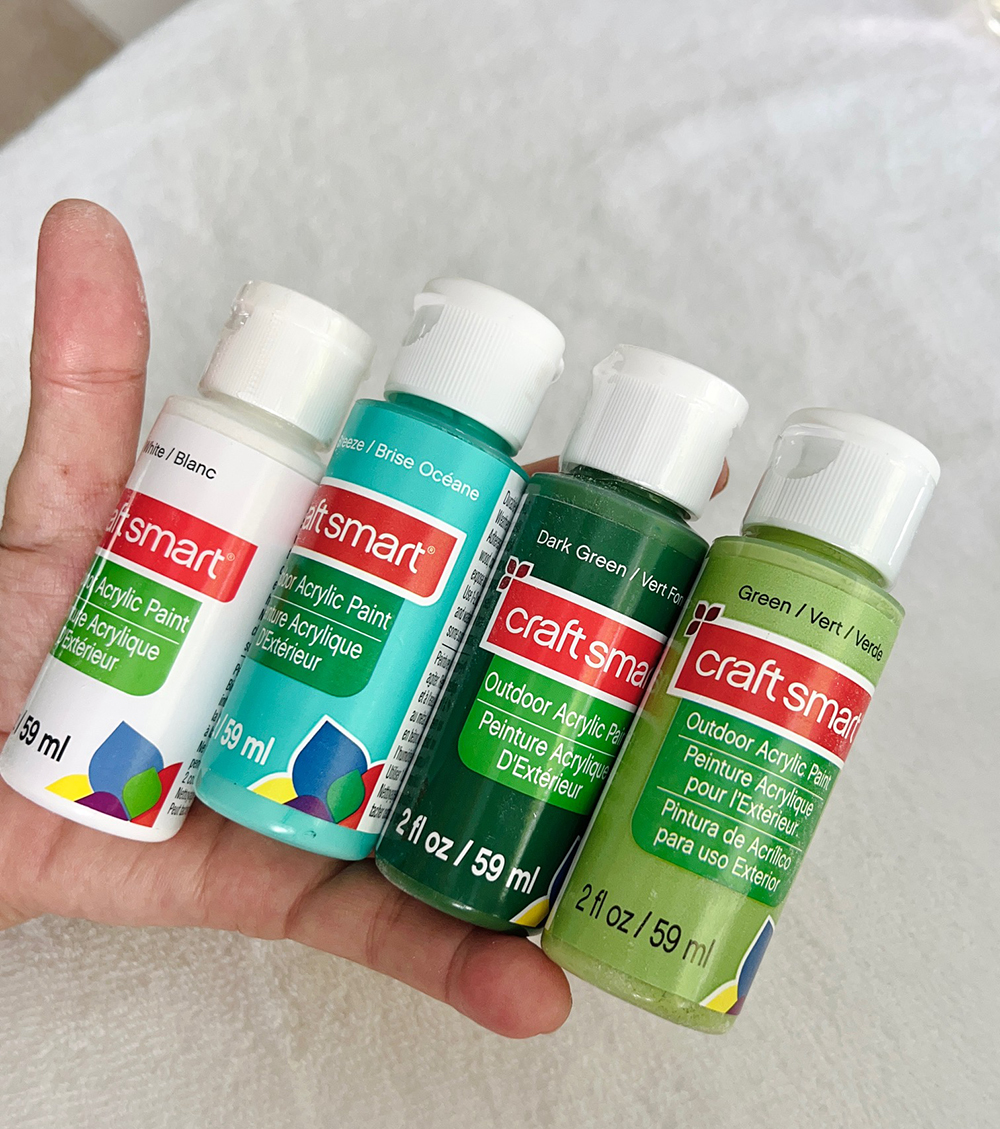
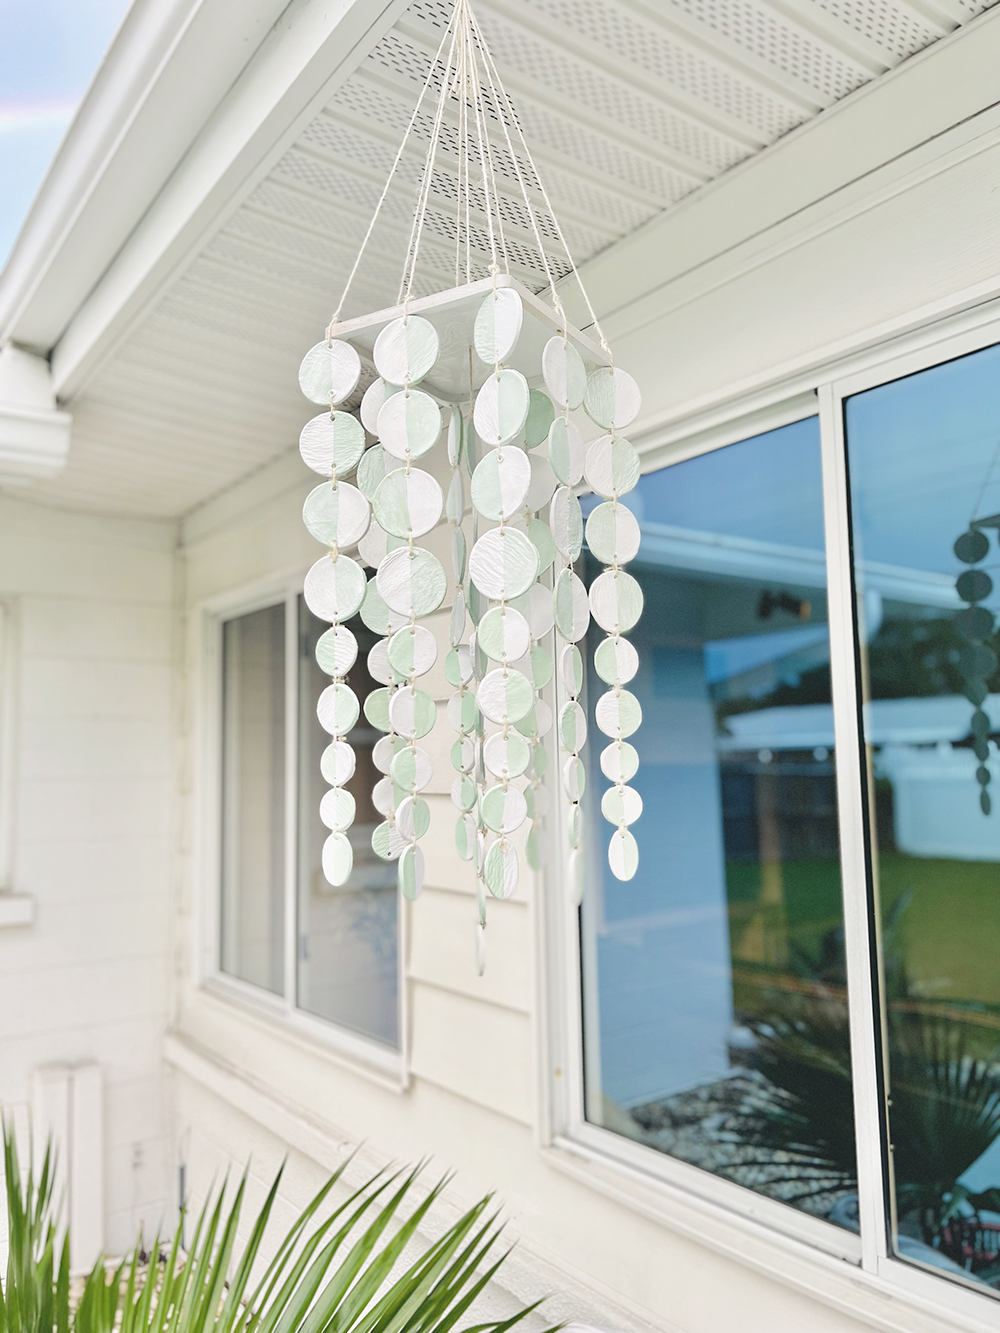
Outside acrylic paints occur in confined colors so I blended a pistachio green hue and added it to 50 percent the circles.
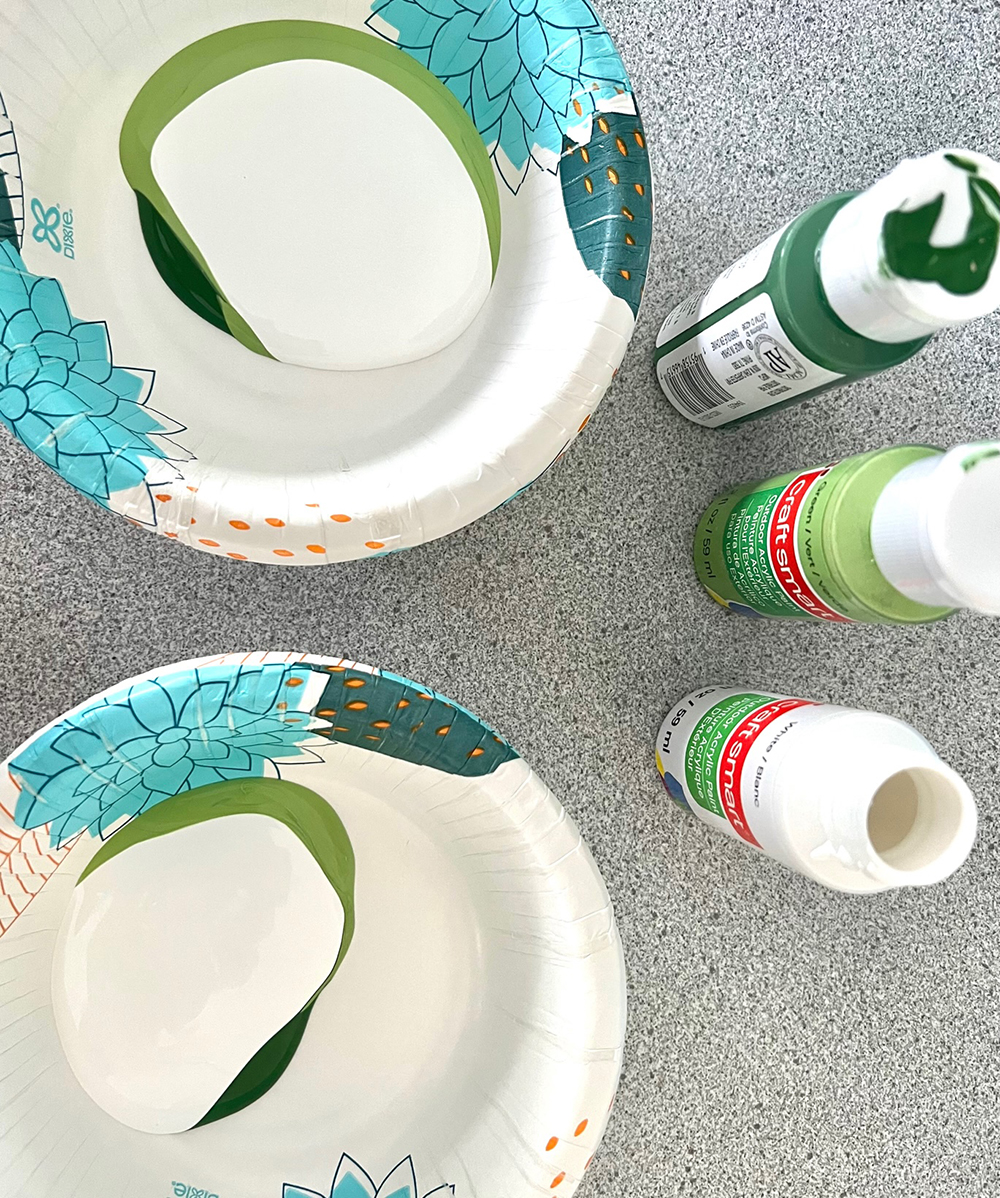
It was also vivid for me so I painted more than the total circle with a thin coat of white so it would appear additional bleached out and beachy. The last shade looks to me like a shade you’d uncover in saltwater taffy. 🙂
The most time consuming section is the assembly. It took me a total two hrs to string all the clay in get then link them to the wood plaque. I experienced to different the twine and applied 1 strand to safe the clay pieces to just about every other and 2 strands to attach to the wood plaque. Quick strands join the clay circles, one particular prolonged strand as a result of holes in the plaque arrive alongside one another to variety the top rated hanging part.

To attach the strings of clay circles to the wood plaque, use a 1/8” drill bit to make holes in the four corners, four midpoints, and middle of the wooden plaque. (not revealed). Paint it any shade of alternative, I chose white.
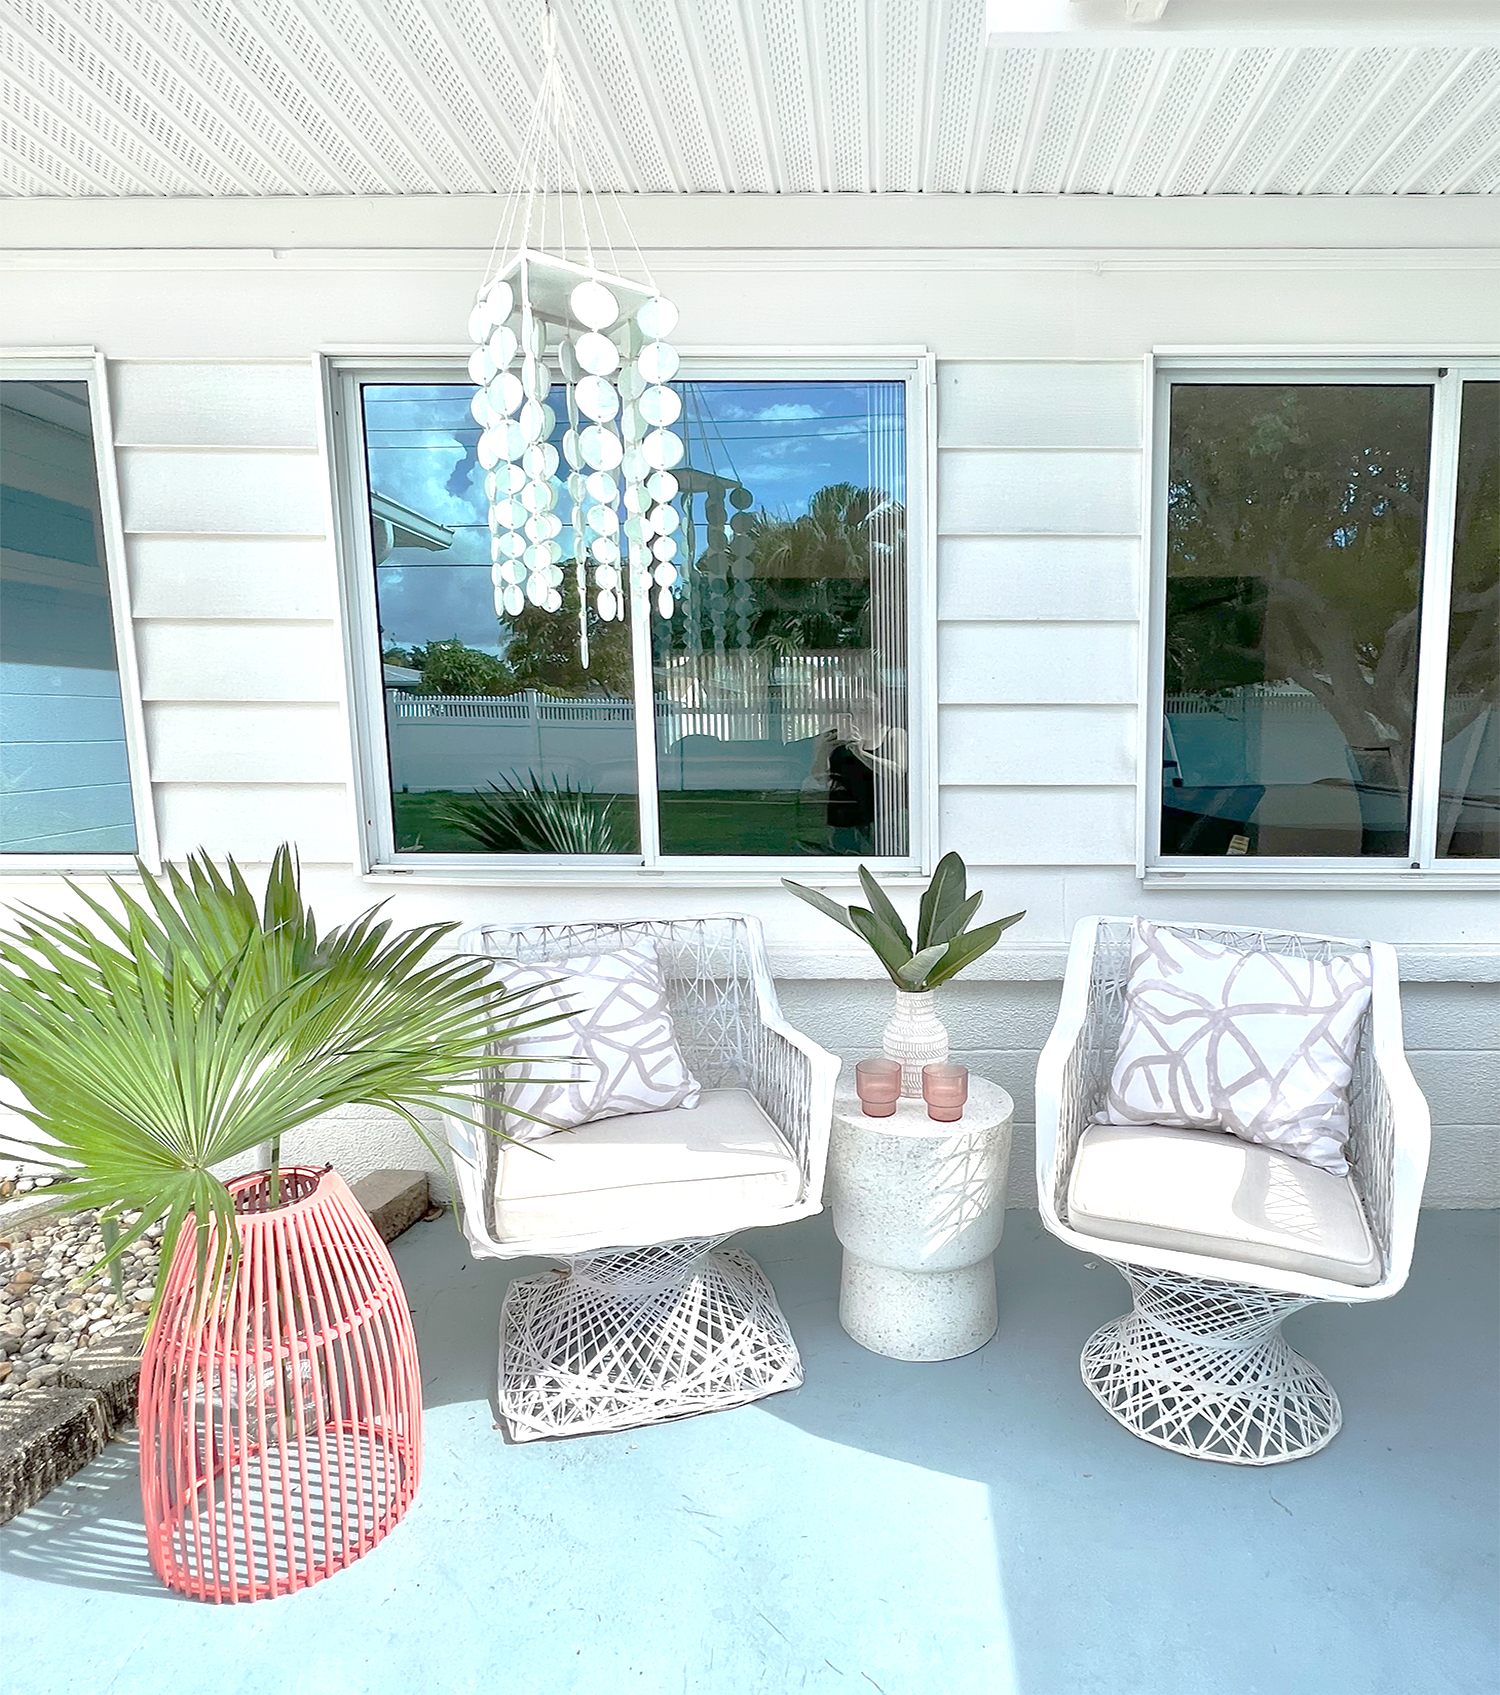
Soon after two several hours of assembly, it arrived collectively and I hung the clay chimes exterior. I like how it dances in the wind. I can see it from the sunroom when I peek out the window much too. It seems to be incredibly great looking out from the within of the household.
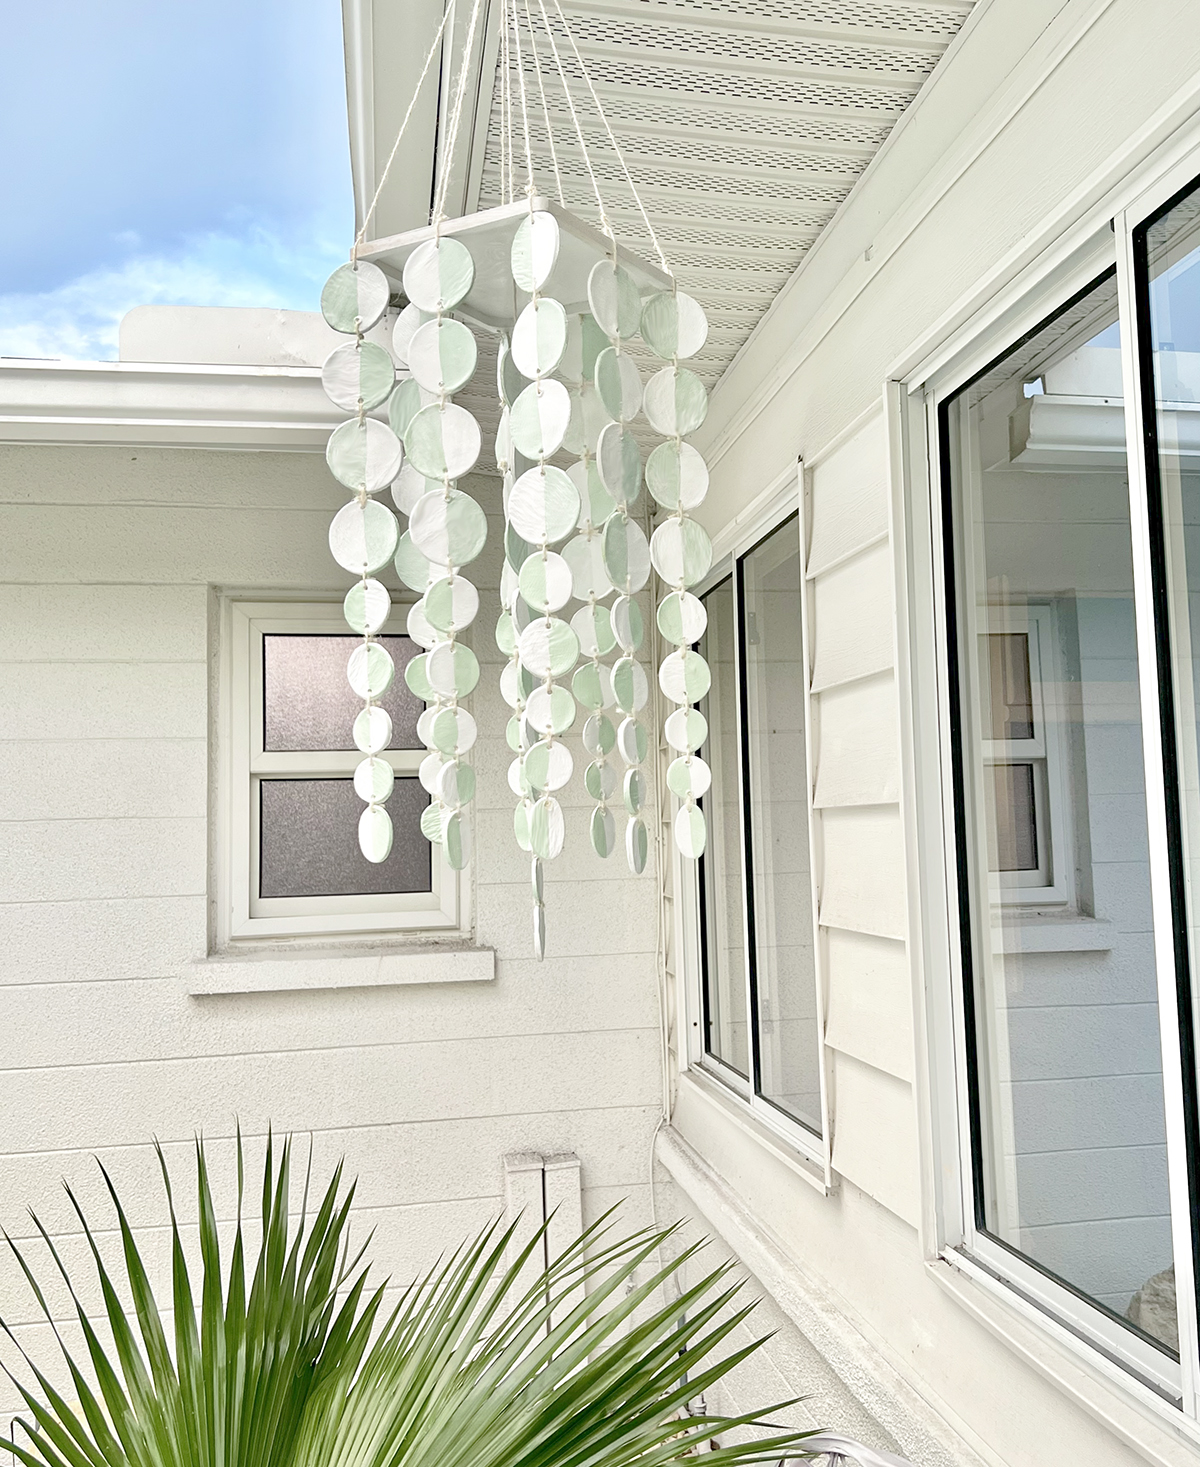

It is a entertaining focal issue on the patio earlier mentioned the vintage patio chairs. If hanging outdoors, I suggest hanging in a guarded area away from immediate moisture and only keeping it up in the course of very good temperature. I have no notion how lengthy this will last, it is an experiment. Luckily, any loose strands could be fixed with fresh twine. 🙂
So…. the story on the chairs! The first 7 days I arrived in Sarasota I had the fantastic fortune of discovering a vendor of vintage finds, a supplier who goes to area estate income and grabs good items then sells them in her eBay keep and ships throughout the United states. I discovered her because I had purchased a pair of classic twin rattan headboards for our visitor area then found out she lived in the same city! I then learned she also had a pair of vintage Russell Woodard midcentury chairs, woah, liked these!
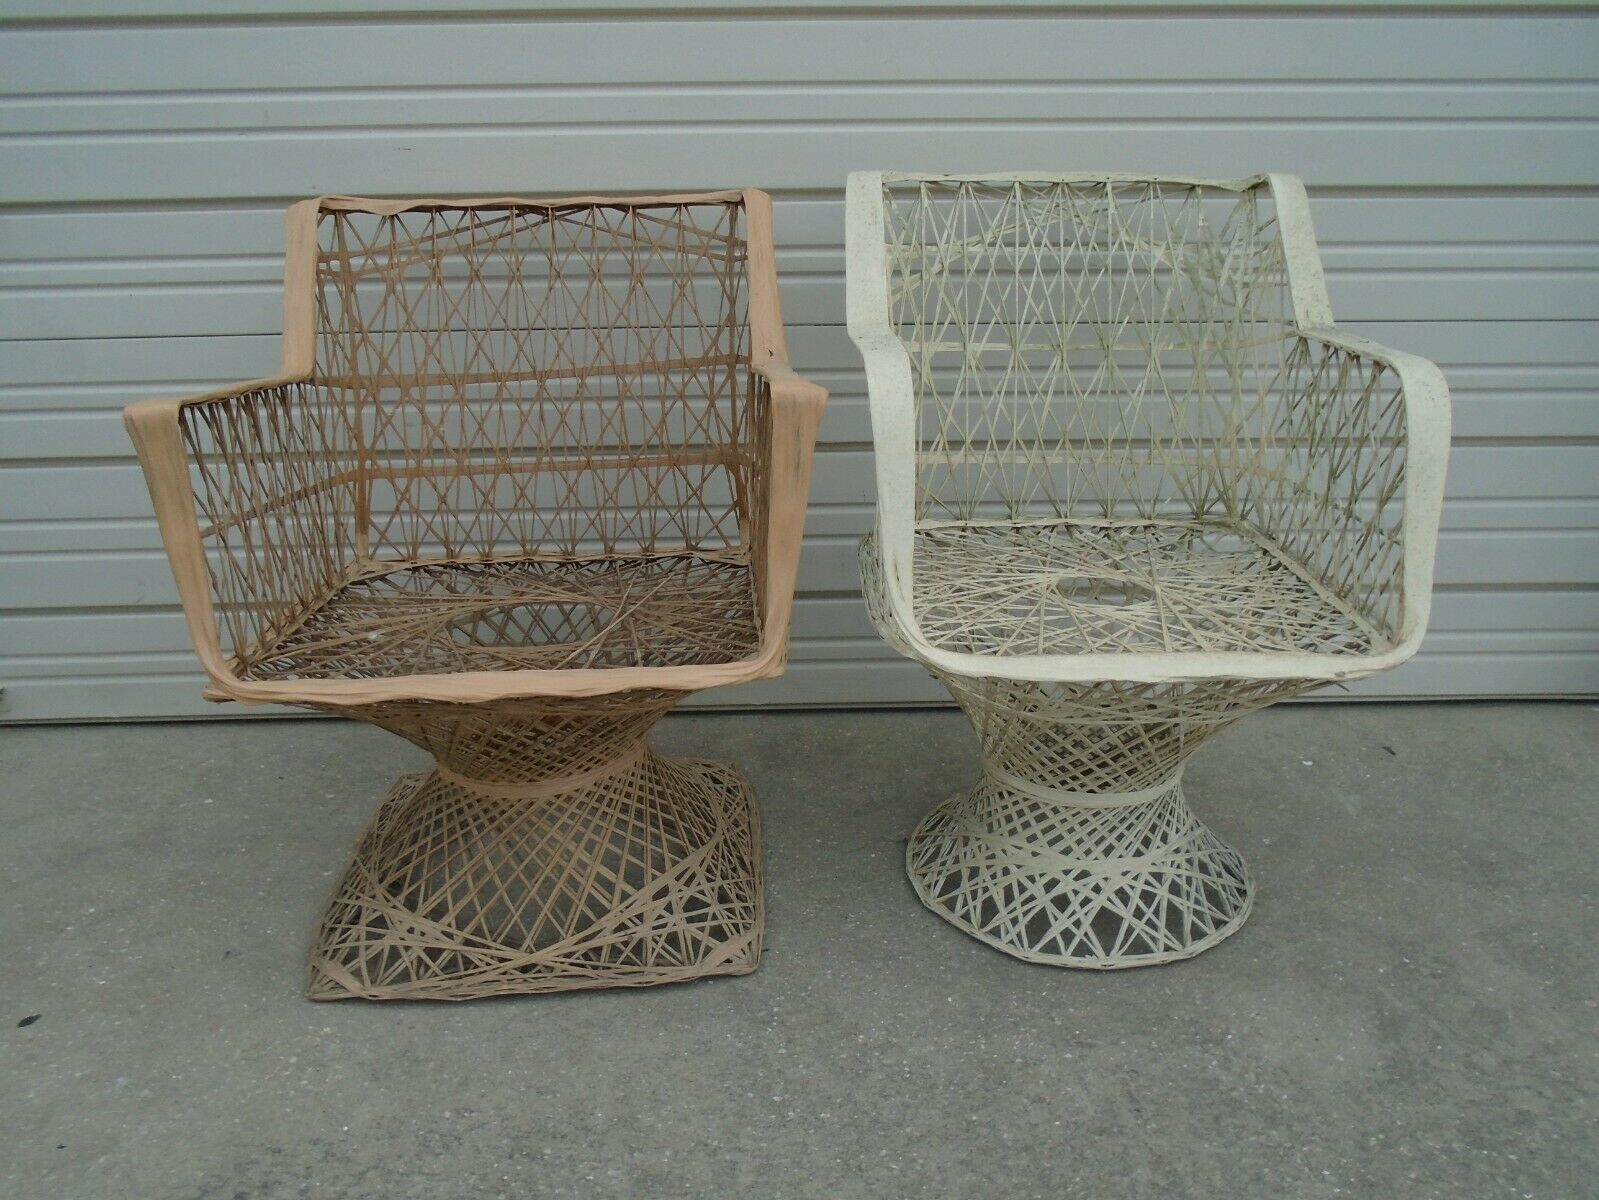
These are spun fiberglass chairs from the 1960s, the design is so amazing. They in shape the midcentury satisfies coastal design I’m likely for. I paid $100 each and every, and they promote for a whole lot a lot more on Chairish or 1st Dibs. I refinished them in two coats of Common Spray Paint in white, then included cushions I identified here and right here. I acquired unique dimensions cushions given that the dimensions of the seats are marginally different sizes.
Pillows from this fantastic Etsy shop. Fluted pink tumblers from listed here. Coral vase/candle holder from a local shop on clearance, also spray painted.
Palm clippings from my yard. Pictures from my Iphone since I’m lazy. 🙂