How to Remove Mould and Mildew From Bathrooms

Your bathroom is meant to be a place where you can relax, whether that’s by sinking into a hot bath after a long day or enjoying a quick shower that leaves you feeling refreshed.
What you don’t need is mould creeping into the corners, staining the grout, and filling the air with that unmistakable musty smell.
It seems rather grim at first glance, but there are effective ways to turn this situation around. Stick with us, and you’ll see just how simple it can be.
Identify the Source
Before you grab the mop and start attacking every corner, you need to figure out exactly where the mould is coming from. It doesn’t appear out of thin air. It always feeds on dampness, poor airflow, or small leaks.
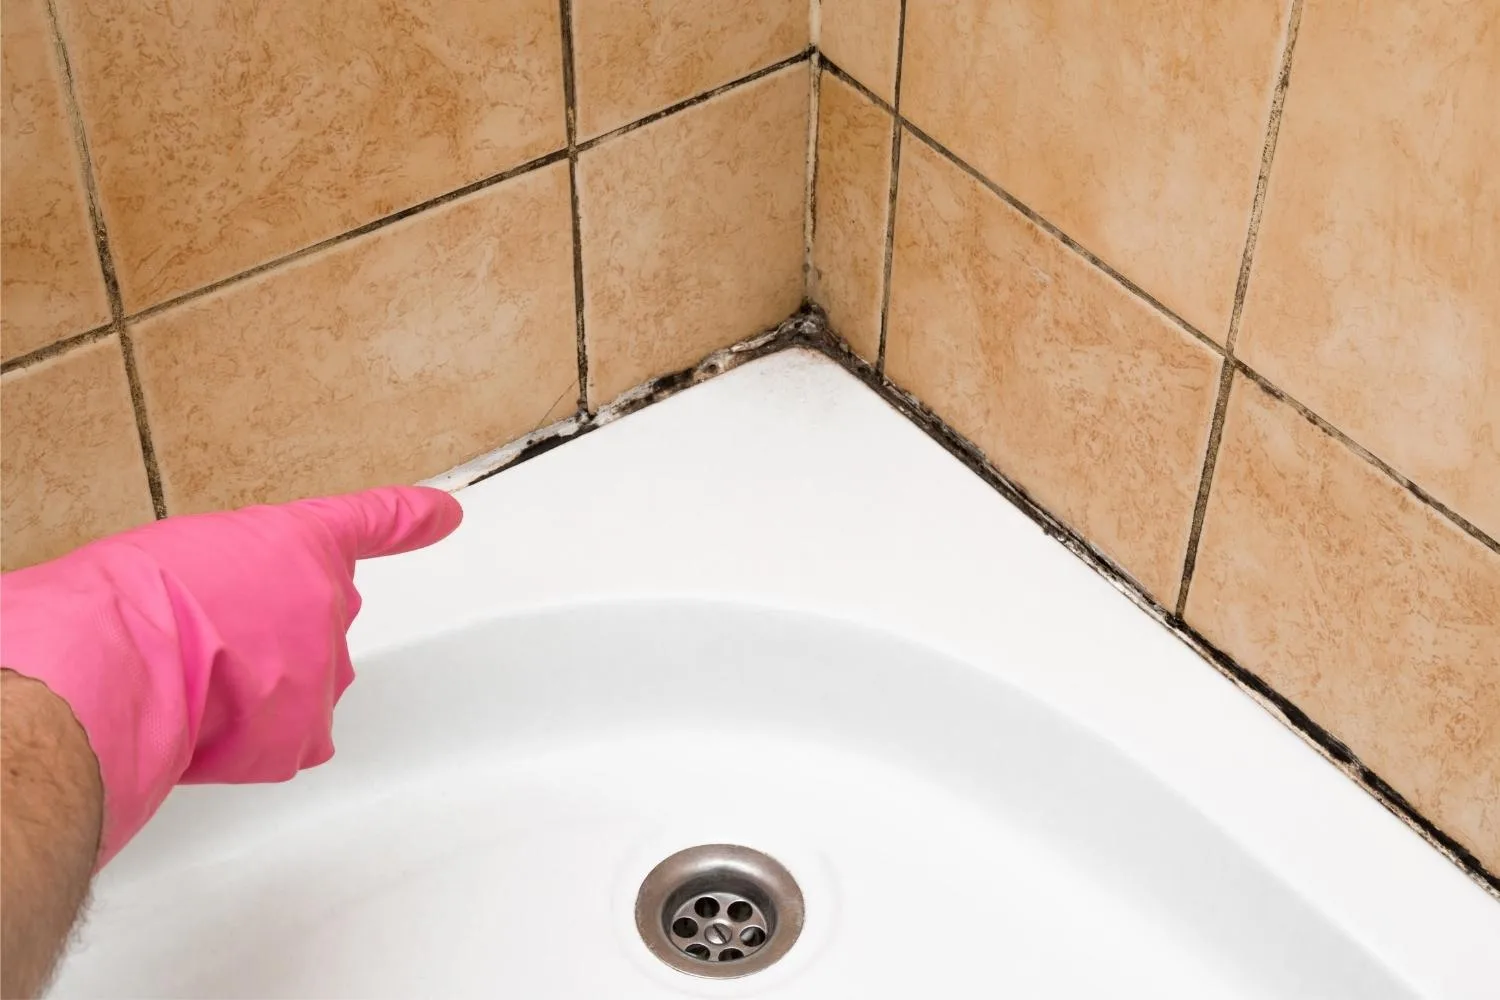
Start by taking a good look at the tiles and grout lines, especially around your shower and bathtub. Dark specks or slimy smudges are classic giveaways. From there, shift your eyes to the shower curtain or screen, because water tends to linger along the bottom edge.
And don’t forget to glance up. Ceilings are a five-star retreat for mould, thanks to the constant steam drifting upwards.
Of course, you may not always be able to spot mildew, but you can definitely smell it. That musty, earthy odour that makes your whole bathroom feel damp is usually mould waving hello from somewhere close by.
Follow your nose, and you’ll often track that smell back to a dripping tap, a leaky pipe under the vanity, or trapped steam.
Once you know where the fungus is hiding and why it’s there, you can tackle it properly and stop it from creeping back a week later.
Select and Apply Your Cleaner
Once you’ve tracked down the mould, it’s time to decide how you want to fight back. The good news is that you’ve got two options, and both come with their own perks. Here’s what you should know:
Natural Solutions
Want a quick natural fix? Vinegar, baking soda, and hydrogen peroxide are the ultimate choices.
White vinegar is a go-to solution for many households, and for good reason. Its acidity makes life tough for mould spores, cutting through them with surprising ease.
Spray it on, leave it to do its thing for 10-20 minutes, and you’ll be amazed at how much it tackles without any strong fumes.
Baking soda is another handy option, especially when mixed with vinegar. It scrubs away stains, neutralises that musty smell, and adds just enough grit to lift mould from grout and tiles.
Just sprinkle the powder on the problem areas, then pour some vinegar over it. The fizzing will take care of all those spores.
If you’ve got hydrogen peroxide tucked away in your cupboard, that’s an effective choice as well. It’s antibacterial, antifungal, and doesn’t leave behind residues, making it especially good for regular touch-ups.
For the best results, use a 3% solution, pour it into a spray bottle, and apply it directly to the mouldy areas.
Commercial Products
For those stubborn stains that won’t budge, shop-bought mould removers can be absolute lifesavers.
These heavy-duty sprays and gels are designed to break down stubborn marks and kill spores quickly.
That said, they do come with a few ground rules. Always check the instructions on the label, make sure the bathroom is well-ventilated, and gear up with gloves as well as a mask to avoid breathing in the fumes.
Most manufacturers recommend spraying the product directly onto the mould and leaving it for 10-15 minutes before moving on to the next steps.
Scrub and Remove the Mould
As much as we’d like it to, mould won’t magically disappear just because you’ve sprayed something on it. Whether you’ve chosen a natural or commercial cleaner, you still need to put in some elbow grease.
Once the cleaner has had time to marinate, use a scrub brush or tough sponge to tackle the mouldy patches.
Focus on grout lines and textured surfaces, as they’re mould’s favourite hangout spots. For tiny nooks or fiddly spots, an old toothbrush is a real gem, as it’s perfect for getting into these tight areas.
After scrubbing, use warm water to flush away leftover cleaner and mould bits. This step matters more than it seems, since leftover grime or cleaning product can degrade the air quality or bring mould straight back in.
If the mould is particularly stubborn, don’t be discouraged. You’ll probably just need to repeat the process.
Prevent Future Growth
Scrubbing mould away feels satisfying, but the real win is making sure it doesn’t come sneaking back in a few weeks. The good news is that, with a few smart habits, you can keep your bathroom feeling fresh without turning cleaning into a full-time job.
Keep Moisture Out
Good airflow is a game-changer. Every hot shower fills your bathroom with steam, and if it just sits there, mould will eventually move in.
So, turn on the exhaust fan during showers and let it hum for a bit afterwards to whisk away any damp air. If you don’t have one, don’t worry. Just crack open a window to let humidity slip out.
You can also swipe your tiles, shower doors, and mirrors after every shower to prevent moisture from hanging about.
Opt for Mould-Resistant Materials
If you’re remodelling or planning a bathroom revamp, choose mould-resistant materials, such as special paints and grout. These act like a shield against mould, keeping your bathroom in perfect condition for much longer.
For an extra layer of protection, you can also add a mould-resistant sealant.
Know When to Step Back
Most of the time, mould is something you can handle with a spray bottle, a bit of patience, and some determined scrubbing. But every now and then, it can get out of hand, and that’s when you need a pro clean.
If you’re staring at a patch of mould that covers more than a square metre, or you’ve got stains that keep reappearing, it’s usually a sign the problem runs deeper.
The same goes for that persistent musty smell that lingers even after a deep scrub. You probably have mould hiding behind walls, under tiles, or in places you can’t reach.
Experts come armed with industrial-strength equipment and know-how that goes well beyond what you can grab at the shops.
They can track mould to its hidden source, remove it properly, and help you stop it from coming back. It might feel like a bigger upfront cost, but it’ll save you from endless scrubbing and repeat outbreaks.
Conclusion
You’re not here to live in a musty cave. You’re here for steamy, spa-worthy showers that don’t come with a side of mildew.
You’ve already got everything you need to send it packing. So, grab your supplies, try out our tricks today, and turn your bathroom into a fresh, relaxing space.


